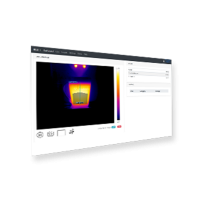
Thermal X-Ray: Instant, Lightweight Composite Inspection
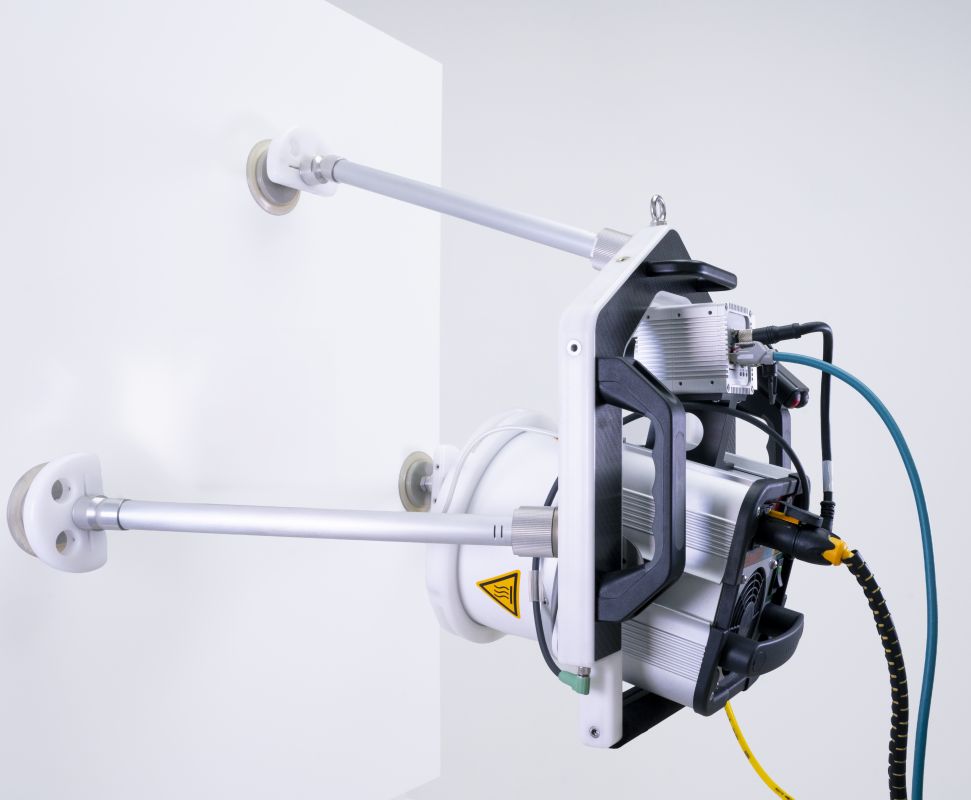
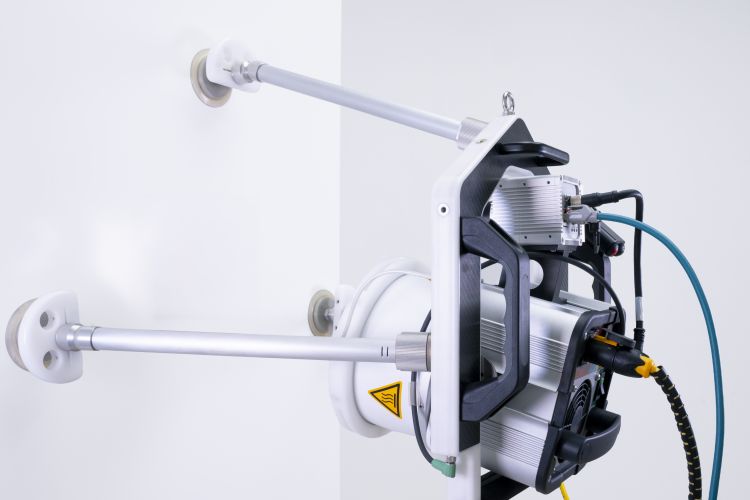
Built on an ultra-lightweight frame, the C-CheckIR eliminates costly component disassembly and movement. Get fast, high-resolution NDT results in just 10-25 seconds with a large, single-shot inspection area.
-
Delaminations, water ingress, or bondline disbonds
-
Rapid Inspection Time: Under 25 seconds per shot
-
Single-shot inspection area (43 cm × 34 cm)
-
Ready-to-use system with ultimate portabilty (~ 6 kg)
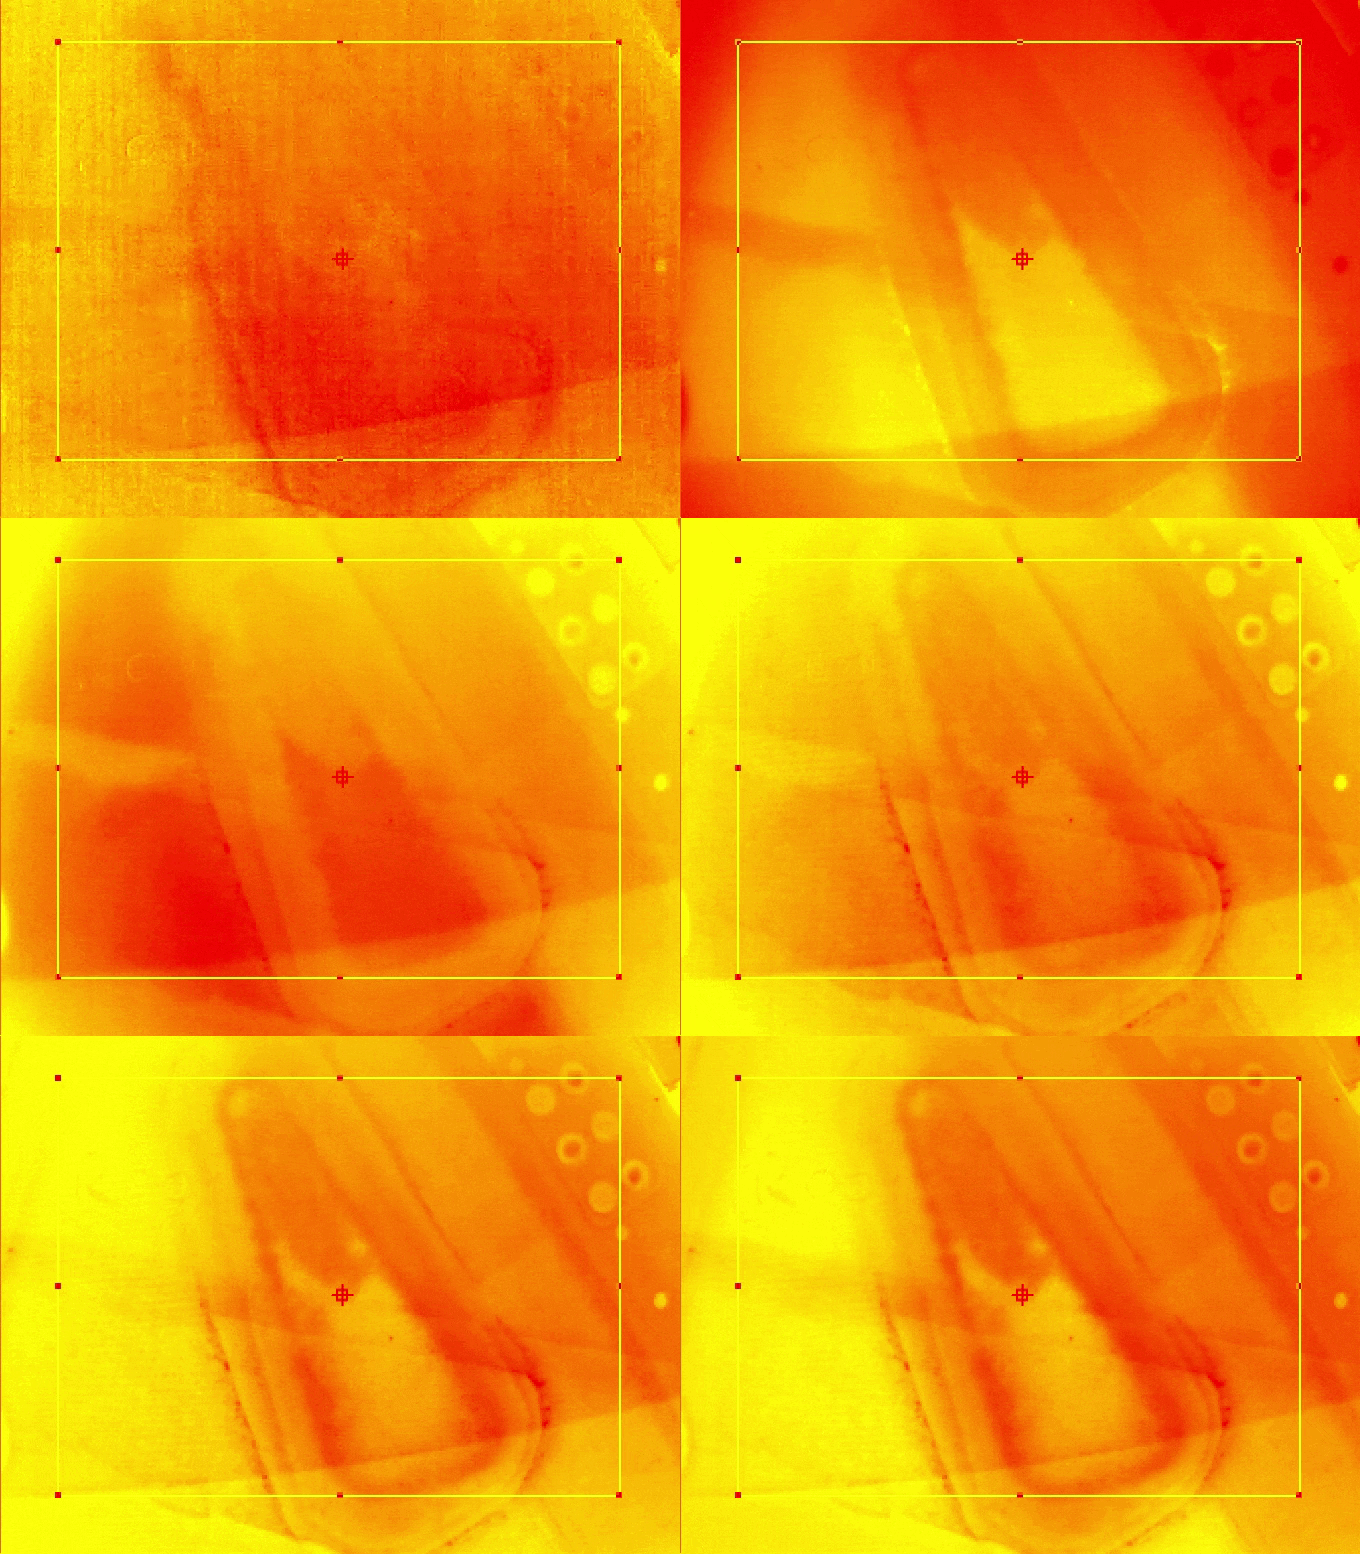
Spot hidden composite flaws immediately with C-CheckIR
Non-Destructive Inspection of Carbon Fiber and Advanced Composite Materials.
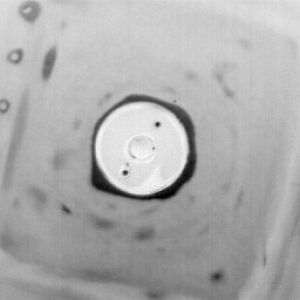
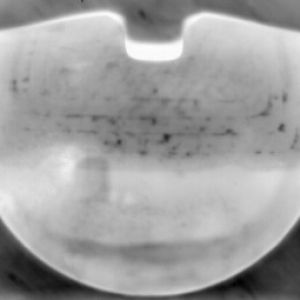
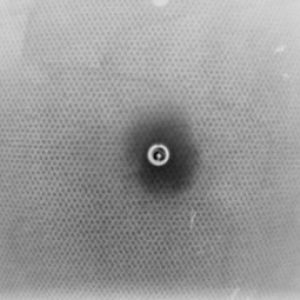
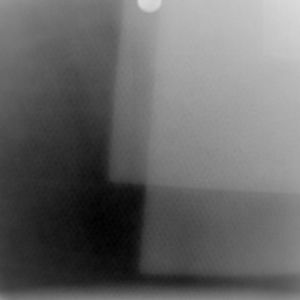
The C-CheckIR system uses advanced infrared technology for non-destructive testing NDT) of aircraft, marine, and automotive composite materials. Detect and measure hidden delaminations and voids instantly, ensuring safety and structural integrity directly on the object.
The Versatile Applications of our NDT Solutions
NDT of Composite Materials
Our advanced systems for non-destructive testing (NDT) enable efficient and large-area inspection of composite materials such as CFRP and GFRP — both in production and in-service. Utilizing state-of-…

Non-Destructive Testing in Aviation with C-CheckIR
With C-CheckIR and the IRSX series, AT Sensors offers powerful infrared solutions for industrial quality assurance. The systems enable fast, non-contact testing with maximum precision and reproducibl…

Non-Destructive Testing in the Automotive Industry with C-CheckIR
C-CheckIR and the IRSX series from AT Sensors bring thermographic testing to a new level in automotive manufacturing. The infrared systems capture temperature variations in welds, adhesives, and comp…
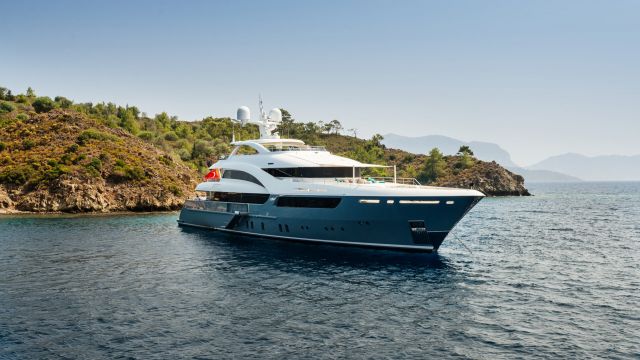
Non-Destructive Testing for Shipyards and Boats with C-CheckIR
Whether in shipyards, docks, or on the open sea, AT Sensors brings thermography directly to the maritime environment with C-CheckIR and the IRSX series. The systems detect delamination, moisture ingr…
STEP 1
POSITION

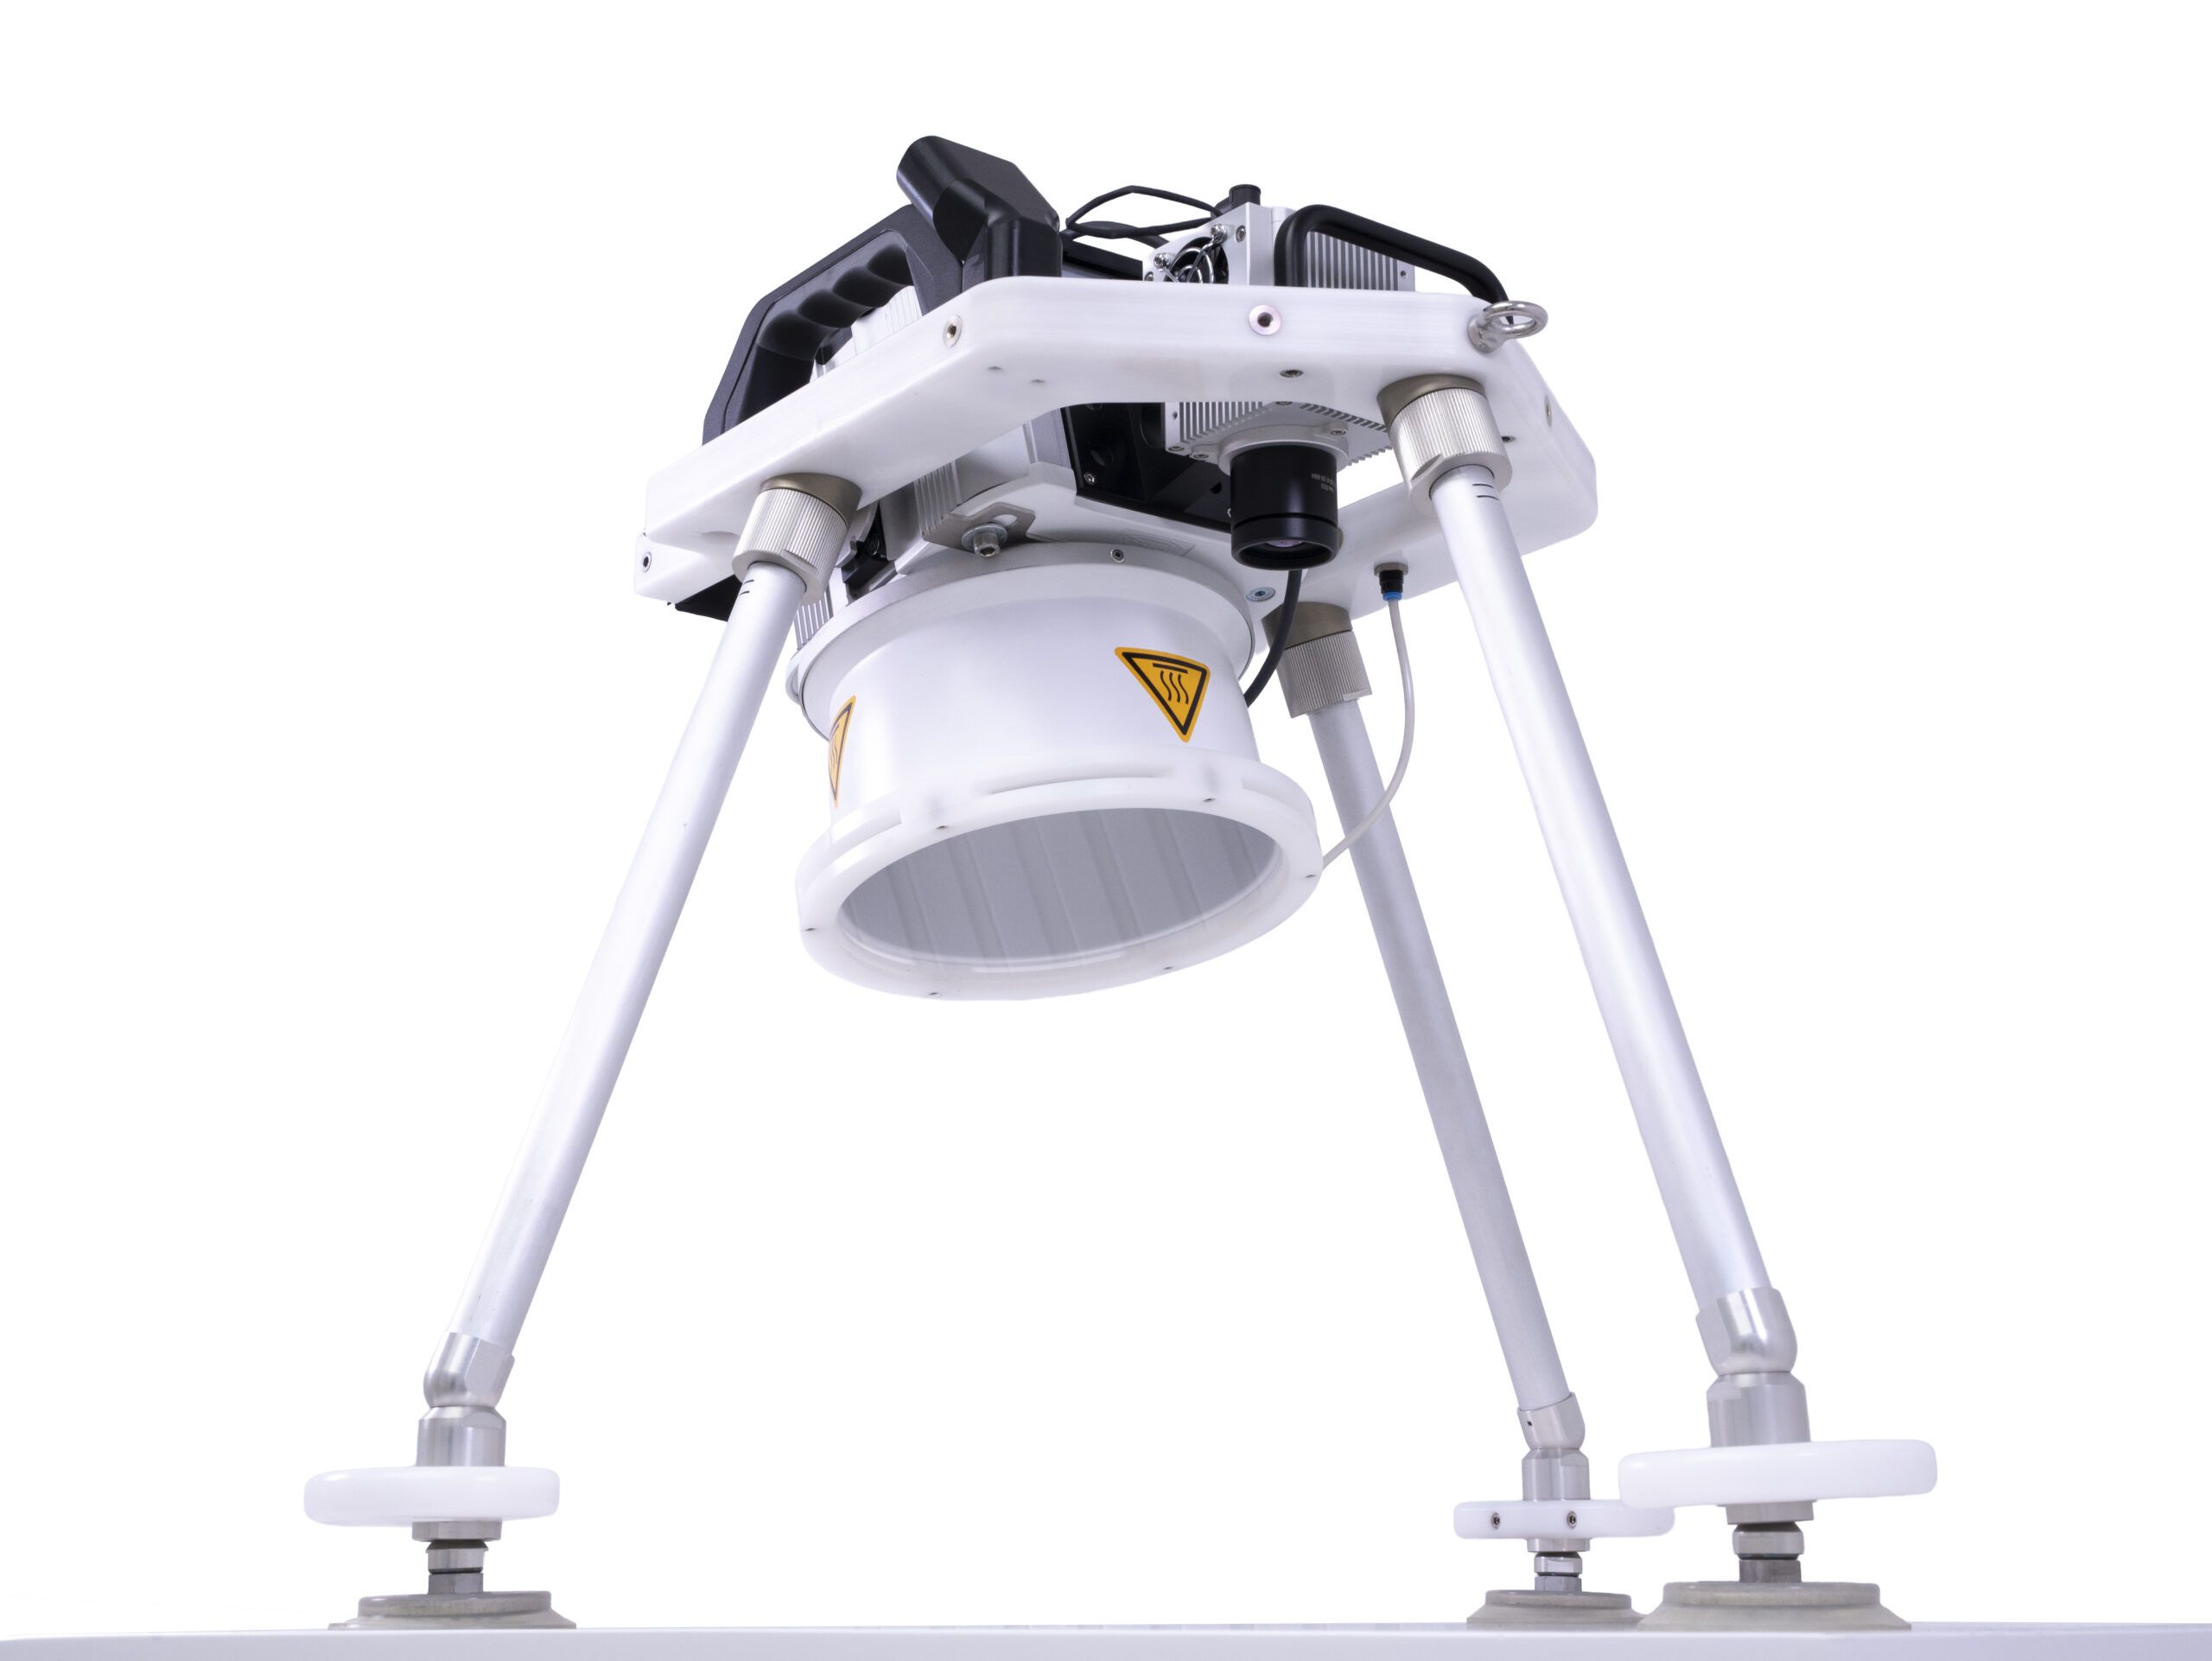
Place and secure the device using the vacuum suction feet
STEP 2
MEASURE
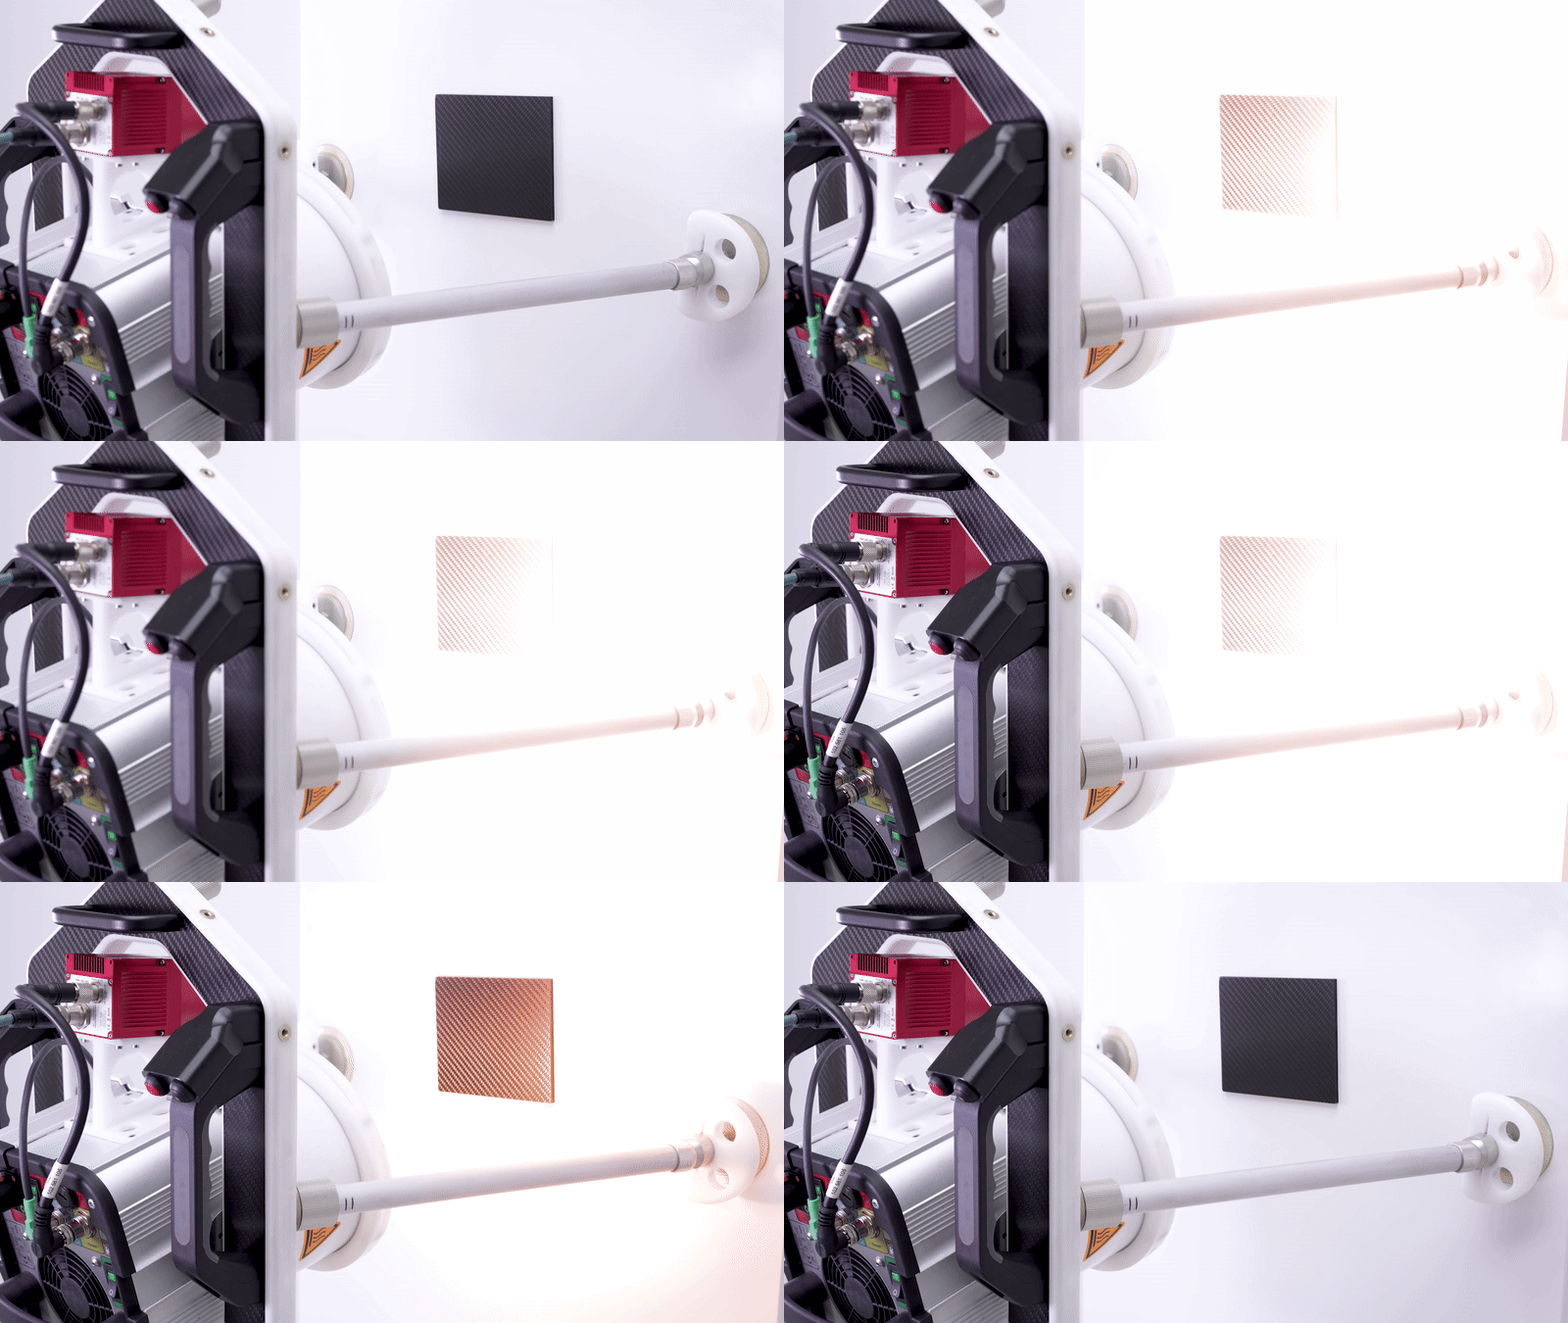
Start the thermography sequence and acquire data
STEP 3
EVALUATE
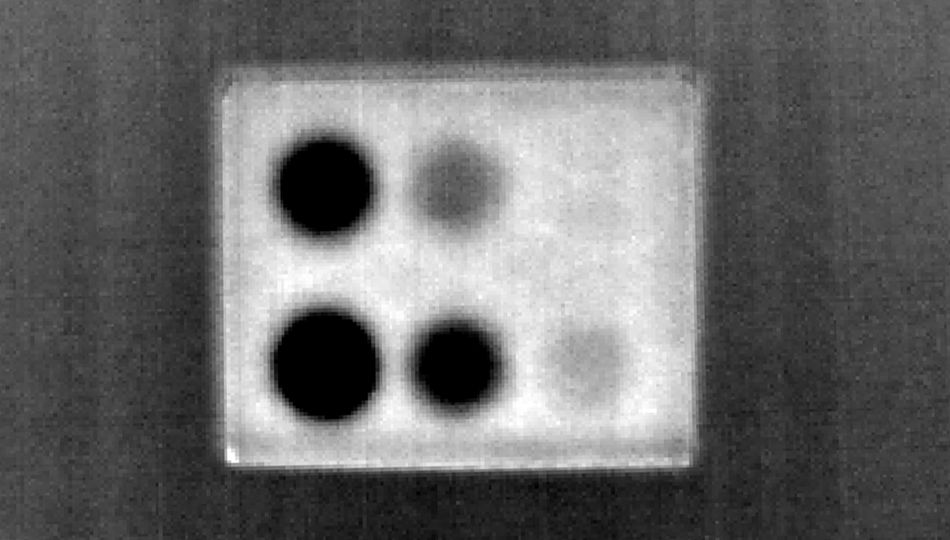
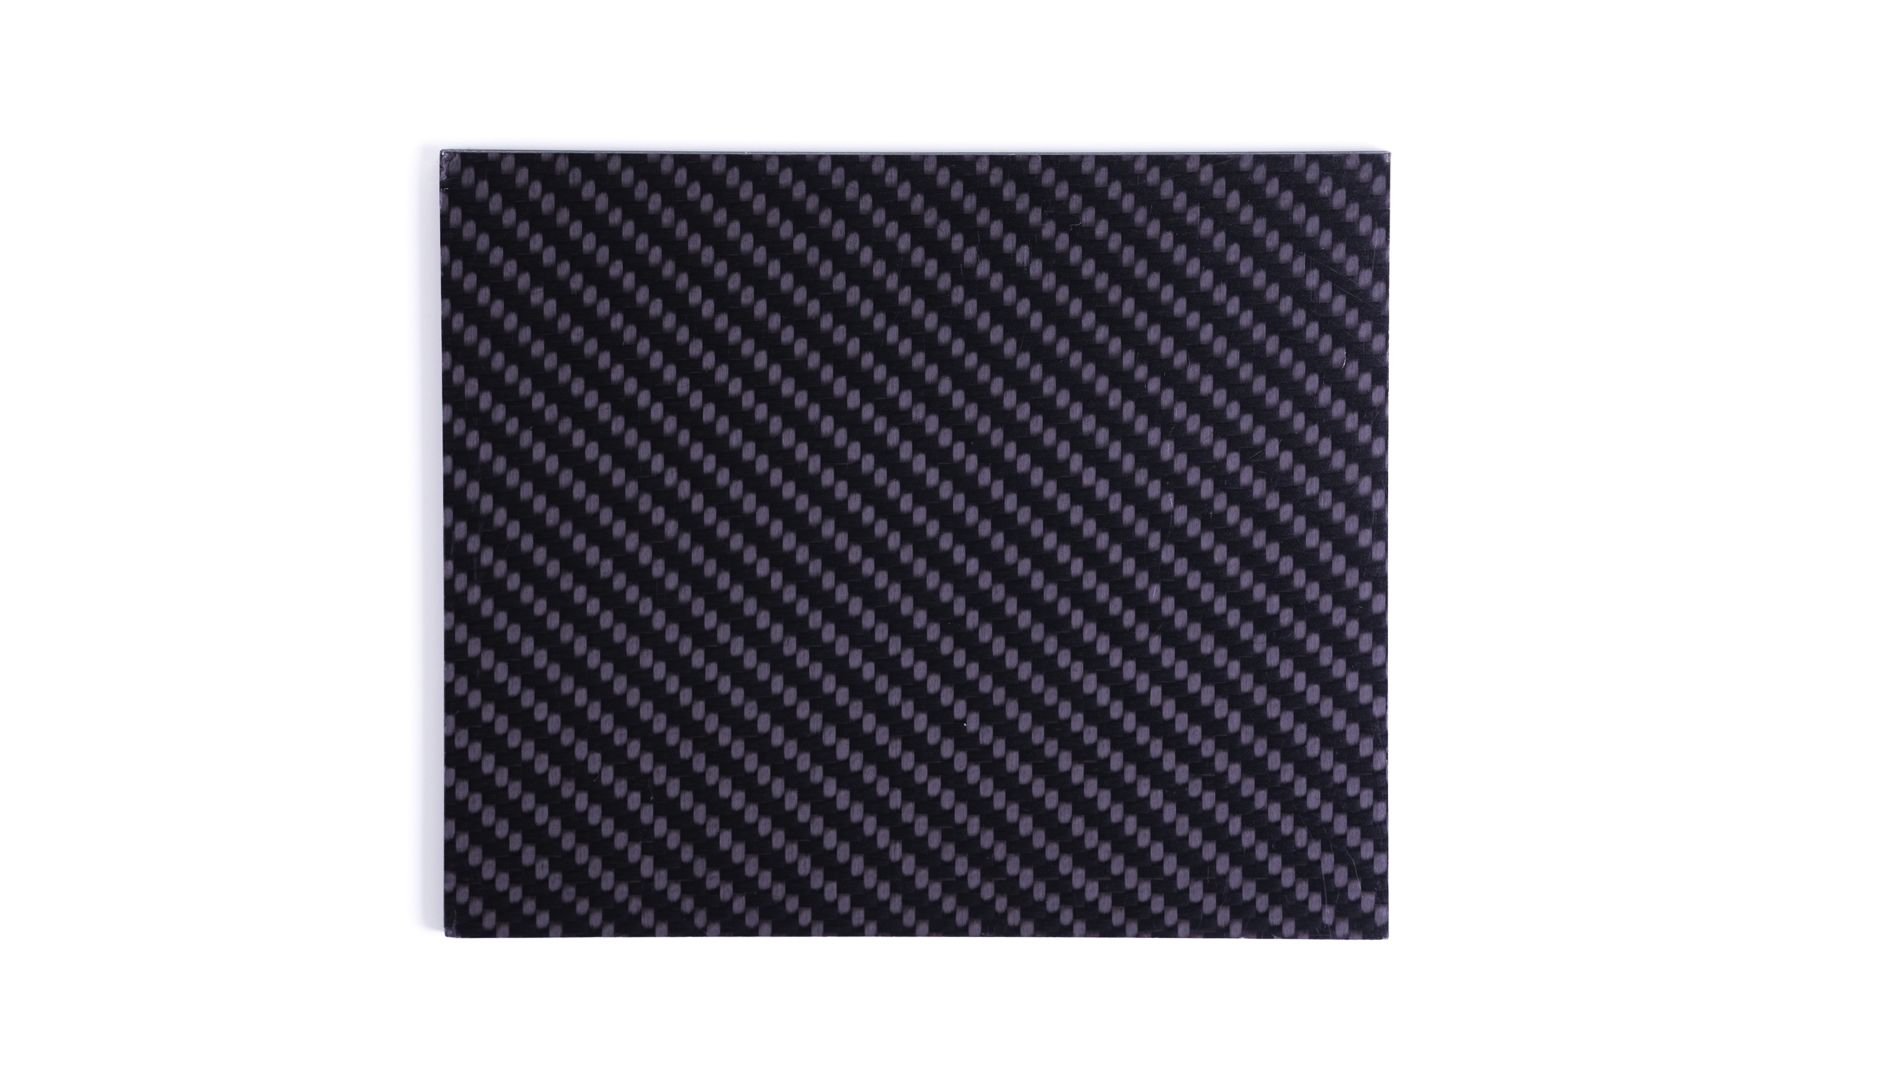
Analyze and document defects directly on the included control unit
C-CheckIR: Portable Ready-To-Use Thermography System for NDT Inspections
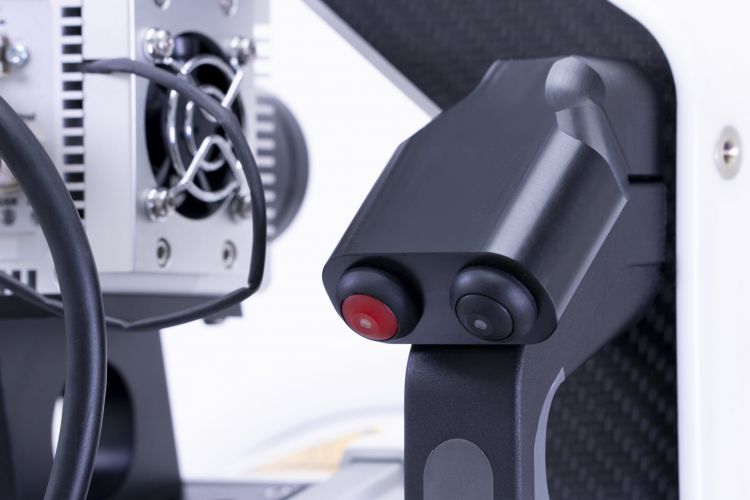
The C-CheckIR Professional is a compact, robust, and highly mobile inspection kit engineered for advanced Non-Destructive Testing (NDT) using active thermography. This versatile system combines a highly sensitive infrared camera with an adaptive heat source, allowing it to accurately capture temperature distributions and reliably detect critical subsurface flaws like delaminations, disbondings, and water ingress (trapped water detection). Featuring a lightweight frame and vacuum suction feet, the system ensures stable positioning and seamless operation on both horizontal and vertical surfaces, making it the ideal portable NDT system for challenging field use.
More than just a general NDT tool, the C-CheckIR Professional is an aviation-certified solution that fully complies with strict industry requirements for SRM repairs and supports numerous established aircraft inspection procedures. By excelling at complex subsurface flaw analysis, it provides aircraft maintenance teams and MROs (Maintenance, Repair, and Overhaul) with a dedicated instrument to maintain structural integrity and ensure efficient compliance. Beyond aviation, its capabilities extend to the inspection of wind turbine components, automotive structures, and marine parts.
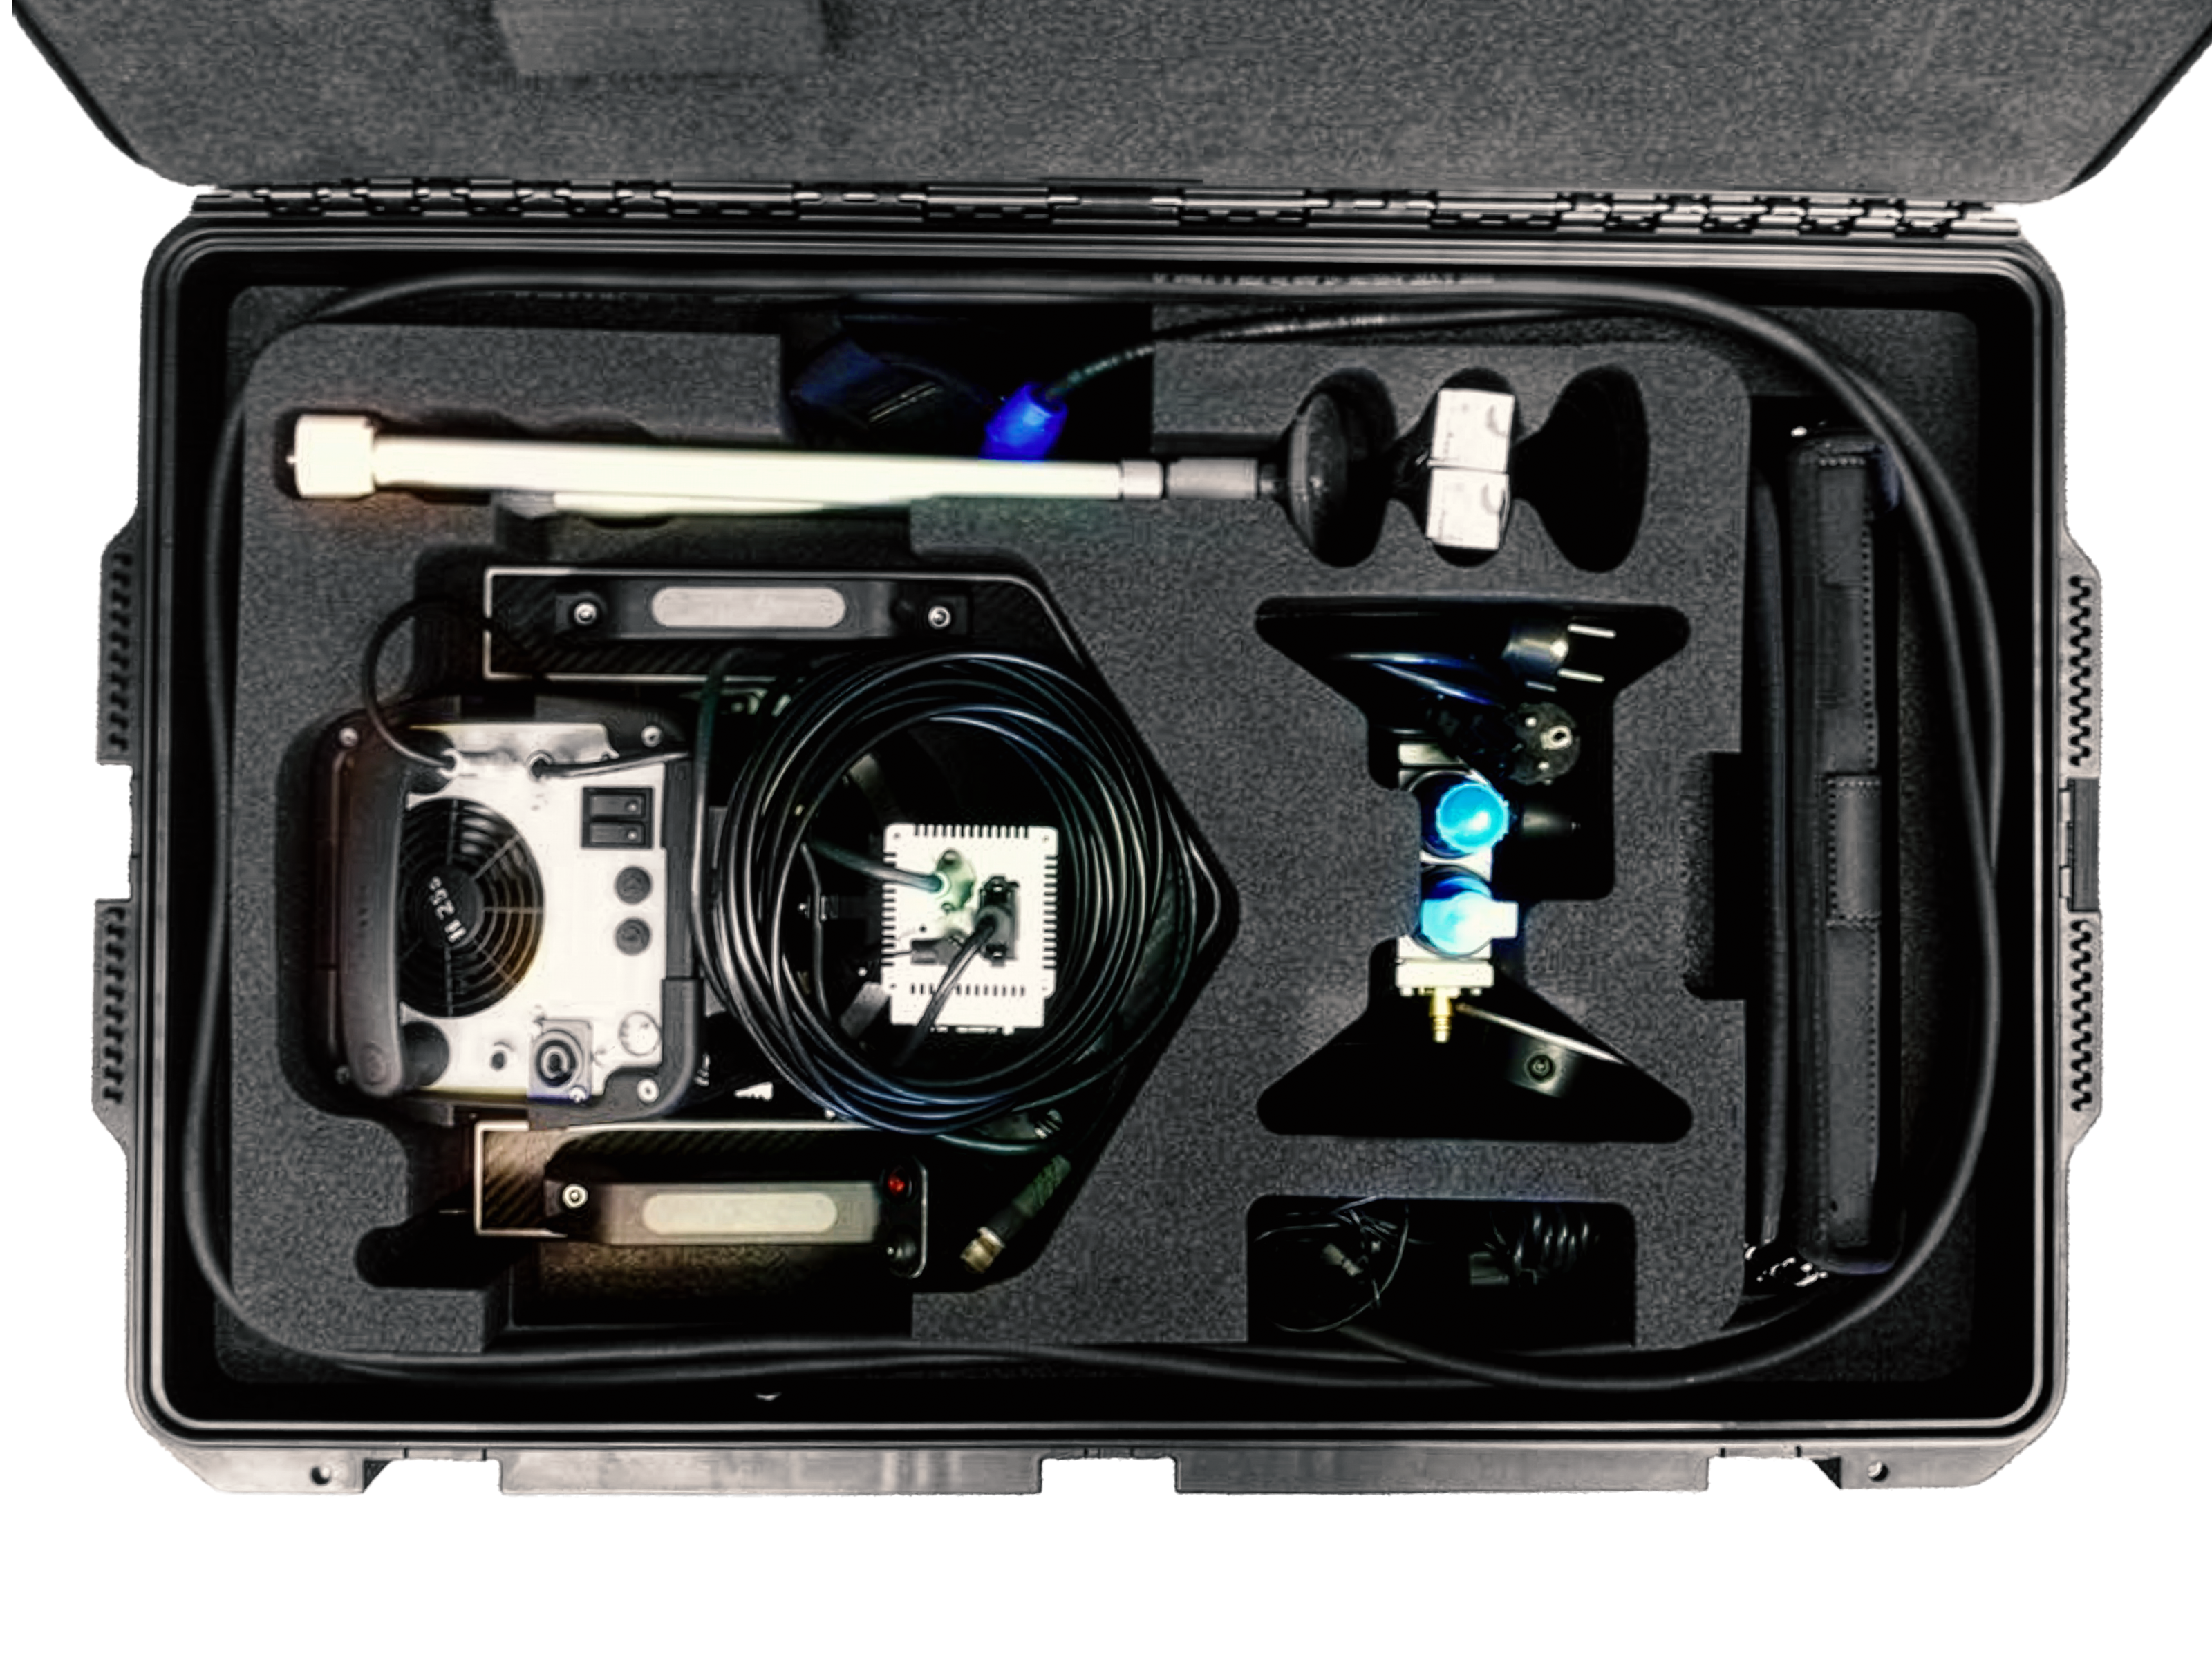
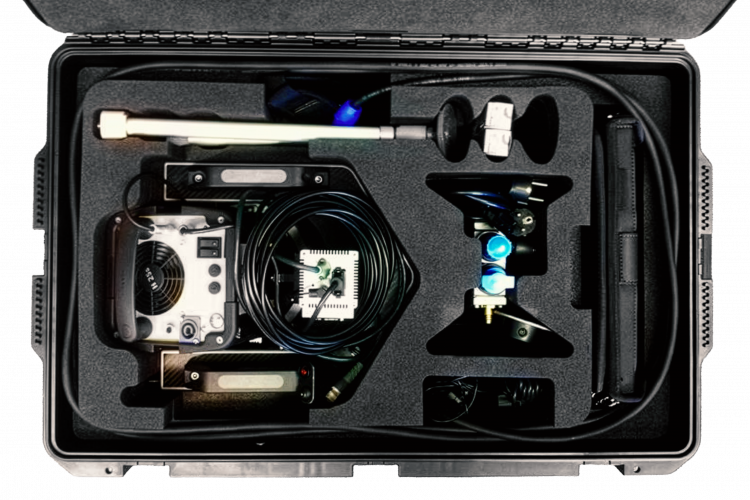
Transport Case
Your system is rugged and comes in a small transport case. With a total weight of 20 kg, it is ready for all situations.
Active Thermography
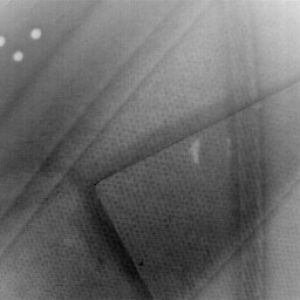
A heat source heats the material, which affects its temperature. This temperature is measured over time with an infrared camera, then processed and displayed as an image, showing its structure and defects.
Certified procedures
Locating and inspection of repairs
–Airbus NTM 55-40-50 (C-CheckIR is the one and only qualified equipment for this NTM). Inspection for Ice or Water in Honeycomb
– Boeing Procedure 737 NDT 51-00-01
– Airbus NTM 51-10-25
Ultimate Portability
~ 6 kg
< 25 seconds per shot
Inspection Area 43 x 34 cm
Delaminations, Water Ingress, Disbonds
Halogen Power 1.75 / 2.0 kW
Pressured Air Supply > 4 bar
Control Unit Included
Where Performance is Everything: Deploy Your Advanced Inspection System
A compact, robust active thermography kit for Non-Destructive Testing (NDT)

You are currently viewing a placeholder content from Vimeo. To access the actual content, click the button below. Please note that doing so will share data with third-party providers.
More Information Technical Specifications
-
Category Specifications Inspection Area 430 x 340 mm Operating Distance 400 mm Control Unit / Operating System Modern Ruggedized Tablet PC / Windows 11 Infrared Camera / Resolution IRSX Infrared Camera / up to 640 x 480 Pixel Power Requirements (Total) 230 V AC, 2.3kW / 115 V AC, 1.9kW Operating Pressure (Fixture Tool) 4-6 Bar Weight (Testing device only) ~ 6 kg Weight (Instrument with Transport Case) 20,5 kg -
MATERIAL NAME INSPECTION FOCUS (Defects) Fibre Composites
(CFRP, GFRP, Aerospace, Wind Energy)Delaminations, Voids, and Disbonds.
Sub-surface flaws in heat-insulating materials.
Foam & Sandwich Cores
(Lightweight Structures, Insulation)Cavities and Internal Voids; Bonding Flaws.
Highly effective due to strong heat impedance.
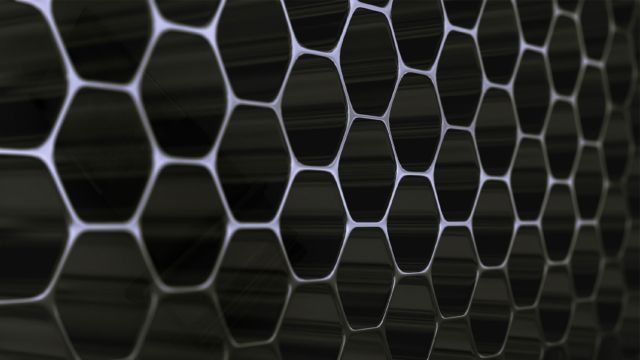
Honeycomb Structures
(Aviation, Lightweight Construction)Water Ingress/Moisture; Disbonds from core material.
Detection based on thermal mass change.
Plastics
(Welded & bonded Parts)Weld Quality; Internal Inclusions and voids.
Defects show up clearly due to the material’s moderate insulation.
Get a suitable offer
🇺🇸 North America
🇩🇪 Worldwide
